How To Download Shaders For Minecraft 1.21.11 on PC (Step-By-Step Guide)
 mcpecentraladmin
If you’re looking to make Minecraft look smoother, more realistic, and visually stunning, then downloading Minecraft shaders for 1.21.11 is the best upgrade you can make. This guide will walk you through exactly how to install shaders on Minecraft 1.21.11 (PC) using the Iris Shader Loader, one of the most stable and performance-friendly shader loaders available today.
Whether you're aiming for realistic shaders, FPS-boost shaders, or vibrant aesthetic shaders, this tutorial is designed to help you install them quickly and safely—perfect for beginners and pros alike.
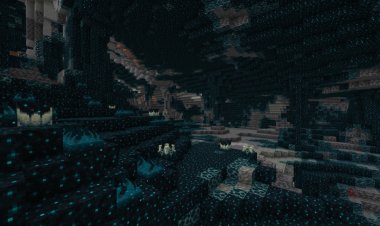
⭐ Why Use Shaders in Minecraft 1.21.11?
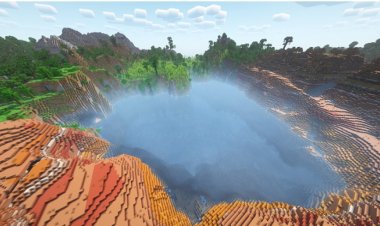
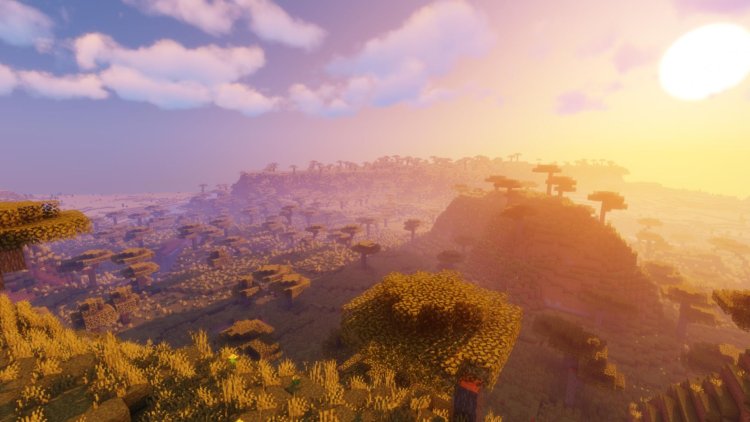
Installing shaders can dramatically change the look of your game by adding:
-
Realistic lighting
-
Soft shadows
-
Waving grass and leaves
-
Reflections
-
More immersive environments
-
Cinematic visuals for YouTube videos or screenshots
And with Iris + Sodium, you can get higher FPS than OptiFine on most PCs.
How To Download Shaders for Minecraft 1.21.11 (PC)
Full Tutorial – Guaranteed to Work
Below is the official step-by-step method to install shaders properly on the latest Minecraft version.
✅ Step 1: Download the Iris Shader Loader
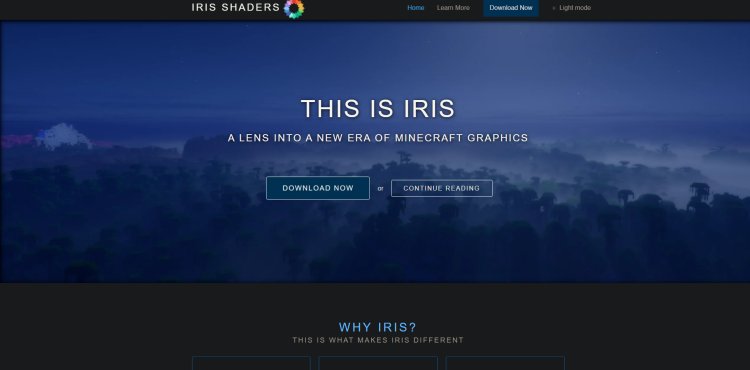
The first thing you’ll need is the Iris Shader Loader, which loads shaders and improves performance.
-
Search “Iris Shaders Download” on Google or go here: https://www.irisshaders.dev/
-
Click the official download page
-
Select “Download Now.”
This installer will allow you to choose the version of Minecraft you want shaders for—including 1.21.11.
✅ Step 2: Download a Shader Pack Compatible With Iris

You can’t use shaders without a shader pack. A reliable place to find Iris-compatible shaders is CurseForge:
???? Shaders Website:
https://www.curseforge.com/minecraft/search?class=shaders
Popular shaders that work great on Iris include:
-
BSL Shaders
-
Complementary Reimagined
-
Sildur’s Vibrant Shaders
-
SEUS Renewed
-
Project LUMA
Download the shader pack .zip file and save it somewhere easy to find.
✅ Step 3: Install Java (If You Haven’t Already)

Iris requires Java to run the installer.
Download Java here:
???? https://www.oracle.com/java/technologies/downloads/#java21
Install Java normally by running the downloaded file.
✅ Step 4: Open the Iris Installer
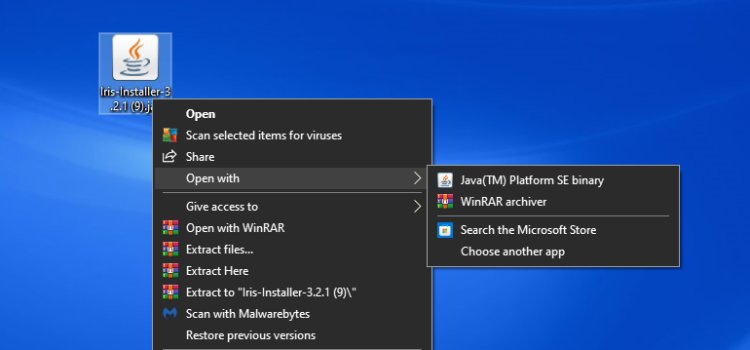
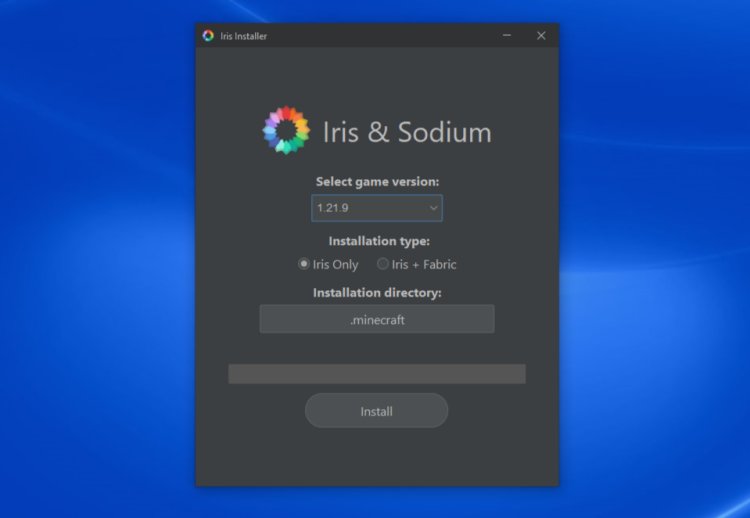
Now open the Iris installer file you downloaded earlier.
-
Choose Minecraft 1.21.11 (or the latest version available)
-
Click Install
-
Wait a few seconds for it to finish
You now have Iris + Sodium installed on your Minecraft launcher.
✅ Step 5: Open Minecraft Launcher and Select the Iris Installation
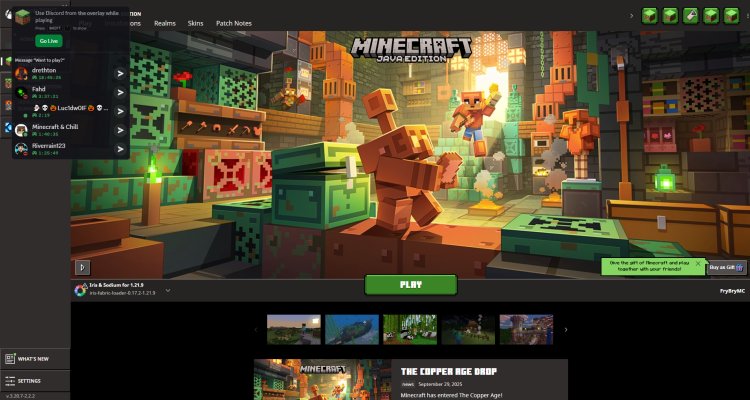
-
Open the Minecraft Launcher
-
Look for the new installation called “Iris & Sodium”
-
Click Play
This boots Minecraft with shader support enabled.
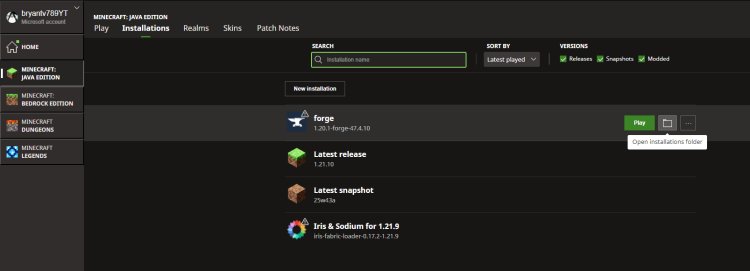
✅ Step 6: Open the Installation Folder → Find “shaderpacks”
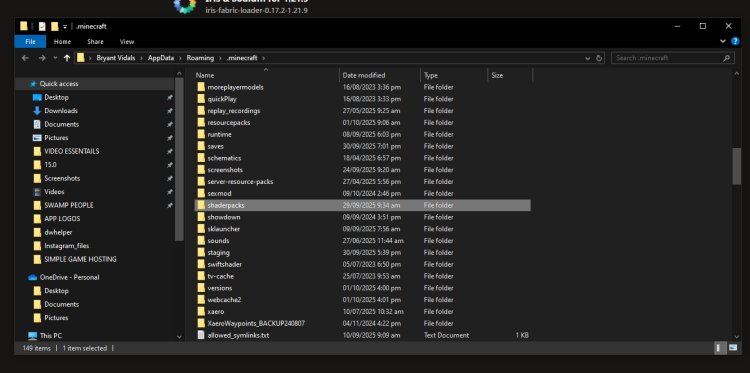

To add the shader pack:
-
In the Minecraft Launcher, click Installations
-
Hover over the Iris installation
-
Click Open Folder
-
Open the folder called shaderpacks
-
Drag and drop your downloaded shader
.zipfile into this folder
No need to extract it—just drop it in.
✅ Step 7: Launch Minecraft and Enable Your Shader
Finally:
-
Start Minecraft using the Iris & Sodium installation
-
Go to Options
-
Click Video Settings
-
Select Shaders
-
Choose your shader pack
-
Load into your world and enjoy!
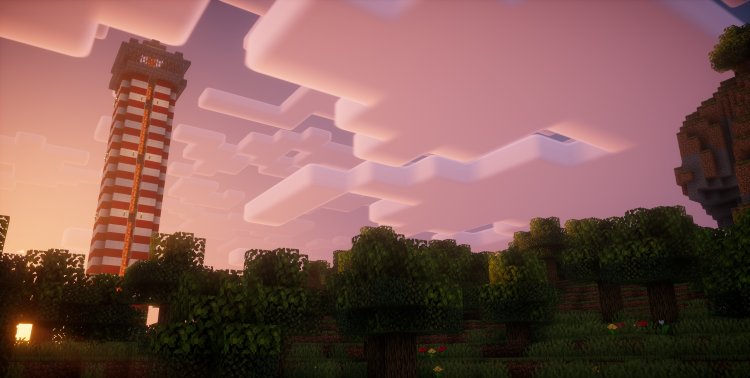
Your game will instantly become more vibrant, realistic, and visually enhanced.
⭐ Final Tips for the Best Shader Performance
-
Lower “Render Distance” if FPS drops
-
Turn off Motion Blur if you prefer a cleaner look
-
Try lighter shaders for low-end PCs (like Sildur’s Lite or MakeUp UltraFast)
-
Combine Iris with Sodium for maximum performance boost