How To Download Shaders For Minecraft 1.21.9! (PC) – Full Guide
 mcpecentraladmin

If you’ve been wondering how to download shaders for Minecraft 1.21.9 on PC, you’re in the right place. Shaders completely change the way Minecraft looks by adding realistic lighting, shadows, water reflections, and immersive skies. In this guide, we’ll walk you step by step through the process of installing shaders in Minecraft 1.21.9 (PC) using the Iris Shader Loader.
This tutorial is beginner-friendly and optimized for performance, so even if you’ve never installed shaders before, you’ll be ready in minutes.
Why Install Shaders in Minecraft 1.21.9?
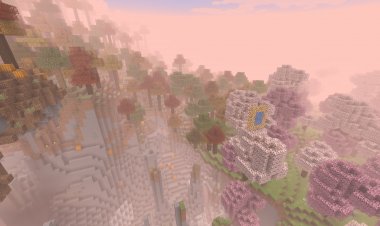
Minecraft is known for its blocky graphics, but with shaders, you can transform it into a visually stunning experience. Shaders add:
-
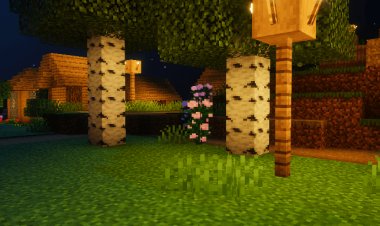
Dynamic lighting and realistic shadows
-
Beautiful water reflections and transparent waves
-
Cinematic skies with sunrise and sunset effects
-
Immersive gameplay that makes Minecraft feel brand new
If you’ve been playing vanilla Minecraft, shaders will completely upgrade your world.
Step-By-Step Guide: How To Download Shaders For Minecraft 1.21.9 (PC)
Follow these steps to get shaders running smoothly on your computer.
Step 1: Download the Iris Shader Loader

-
Visit the official Iris Shader website here: https://www.irisshaders.dev/
-
Click “Download Now” and select the latest version for Minecraft 1.21.9.
-
Iris makes shader installation much easier compared to other methods.
Step 2: Download a Shader Pack

-
To use shaders, you need to download a pack compatible with Iris.
-
One of the best places to find shaders is CurseForge Shader Packs.
-
Popular shader packs include BSL Shaders, Complementary Shaders, and Sildur’s Vibrant Shaders.
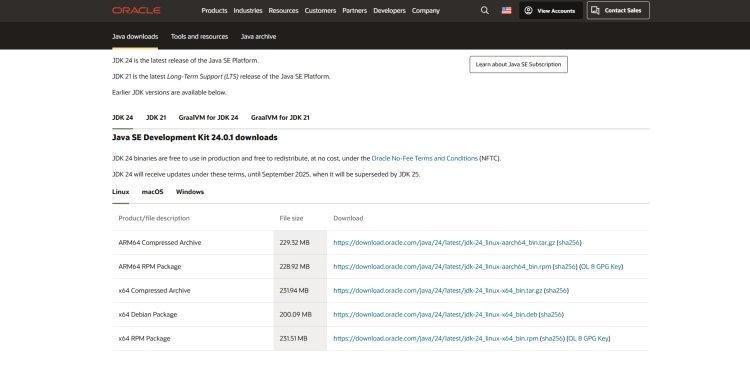
Step 3: Download Java (Required for Iris)
-
If you haven’t installed Java yet, you’ll need it to run Iris.
-
Download Java 21 here: Oracle Java Download.
-
Install Java before moving forward.
Step 4: Install Iris for Minecraft 1.21.9

-
Open the Iris installer file you downloaded.
-
Select the most recent version of Minecraft 1.21.9 from the dropdown menu.
-
Complete the installation — Iris will now appear in your Minecraft launcher.
Step 5: Launch Minecraft With Iris

-
Open the Minecraft Launcher.
-
Go to the Installations tab and select the new Iris installation.
-
Click Play to launch the game.
Step 6: Add Your Shader Pack

-
Once inside Minecraft, go to Options → Video Settings → Shaders.
-
Click the button to open the shaderpacks folder.
-
Drag and drop your downloaded shader file into this folder.
Step 7: Enable Shaders in Minecraft 1.21.9
-
Go back to Minecraft.
-
Under Video Settings → Shaders, select your shader pack.
-
That’s it — enjoy your stunning new visuals!
Best Shaders For Minecraft 1.21.9 (PC)
Here are some highly recommended shaders for Minecraft 1.21.9:
-
BSL Shaders – Ultra-realistic lighting and water.
-
Sildur’s Vibrant Shaders – Bright, colorful, and customizable.
-
Complementary Shaders – Optimized for smooth performance.
-
SEUS PTGI – Advanced ray-tracing shader for high-end PCs.
Final Thoughts
Installing Minecraft shaders for 1.21.9 (PC) is easier than ever with the Iris Shader Loader. By downloading Java, Iris, and your favorite shader pack, you can completely transform how your game looks and feels. Whether you want realistic lighting, reflective water, or cinematic sunsets, shaders bring Minecraft to life.
Start today and enjoy Minecraft 1.21.9 with shaders — the upgrade your game deserves.